It can be frustrating and annoying when the toilet flush starts working inappropriately. It happens when the water level of your toilet water tank doesn’t reach the desired level and not delivering the right pressure.
You need to change the water level at such moments by adjusting the float valve, aka, ballcock. That’s why we prepared the guideline on how to adjust ballcock in water tank to regulate the water flow easily and quickly.
For any sort of professional help, Please contact Rancho Cucamonga Plumbing Solution.
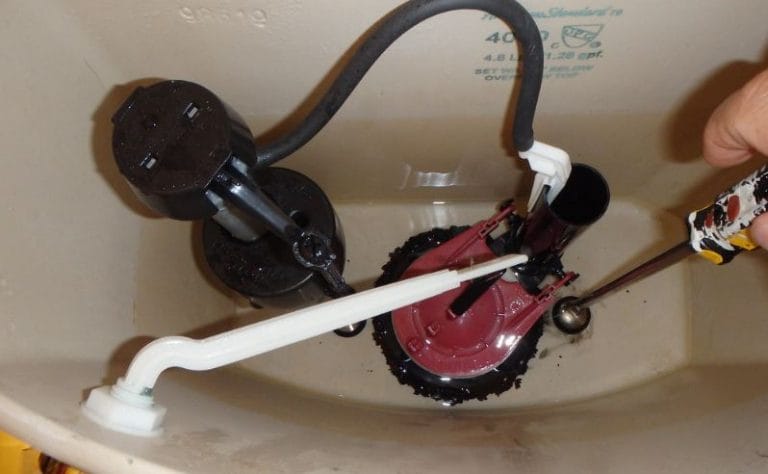
The water tank consists of a fill valve and a flush valve. It is the fill valve that controls the water level and flushing intensity. It has a floating rod, and it moves up and down to allow water to pour into the tank for a proper flush.
If you see the flush not delving the right amount of water, it is caused by the inappropriate positioning of the ballcock. So, you need to adjust it.
You will need:
In most cases, you can accomplish the job with your hands. But we recommend keeping these two items for your easiness at work.
Also, you should note that there are two types of ballcocks. It includes-
Our discussion will show you the adjustment ways of both ballcock types.
The plunger ballcock has a floating ball. You will see it connected with the horizontal float rod. Also, it is made of brass for durability. It moves continuously up and down to control the piston and control the water flow in the tank.
It also consists of an O-ring to seal the attachment. It prevents water leakage and keeps the tank water level in the optimal state for proper flushing. The adjustment steps include-
Both the diaphragm and piston ballcock has a similar structure. But a diaphragm ballcock uses a diaphragm seal instead of the plunger stem. The float rod of this ballcock may be made of brass or plastic. The following steps will help you know how to adjust a diaphragm ballcock quickly.
A ballcock in the water regulates the flushing power of the toilet by controlling the water flow. If the water flow is slow or too fast, it will prevent the flush from working properly. If it happens to your water tank, follow these methods listed here to fix the problem quickly.
It shouldn’t take more than a few minutes to get rid of the annoying problem.
7252 Archibald Ave #1249
Rancho Cucamonga, CA
Call Now
© 2024 Rancho Cucamonga Plumbing Solution